Connecting Windows 7 Computer to TV or Monitor using HDMI Cable
These instructions are general instructions. Your TV set may work slightly different than described below. Please consult your TV owners manual for any discrepancies.
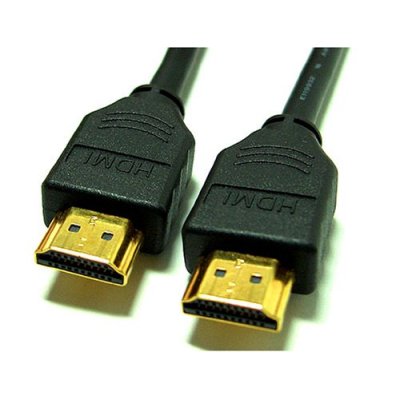
- Acquire an HDMI cable long enough to reach between you TV/Monitor and your computer. An HDMI cable is pictured below:
- Turn on your TV and computer.
- Plug in one end of the HDMI cable into the HDMI port on your computer.
- Plug the other end of the HDMI cable into an available HDMI port on the TV/Monitor. If your TV/Monitor has multiple HDMI inputs, look to see if there is a port number next to it (i.e. HDMI 1, HDMI 2, etc.)
- Set your TV or Monitor to the appropriate HDMI input. This step in slightly different on every TV/Monitor. Press the "Input" or "Source" button on your remote control or TV/Monitor. An input menu should appear on you TV/Monitor screen.
- Select the appropriate input.
OTHER OPTIONS
If your screen is working properly after the steps above, you may not need to go any further. The following steps may provide further set-up options:
- You may want to adjust the screen resolution from your computer to you HDTV, to achieve optimal settings. SEE Article: How to change your screen resolution, Windows 7.
- You will need to configure an "extended monitor" setup so you can see two different things on each screen, as opposed to simply duplicating the screen onto the TV/Monitor.
- You may want to re-configure playback devices, so that your sound plays out of either your TV or computer speakers. SEE Article: Setting default playback device to come through HDTV speakers using an HDMI cable.